Home | Guide to Printing

A Quick Guide To Printing

If you’re working on a project that requires professional printing services or you need to use a printer on a regular basis to help produce high-quality products for your company, understanding e-Print’s quick guide to printing can make the process a lot easier. Below are just a few examples of the keywords you may come across.
Guide to printing
design
Which programme should I use?
paper size

What size should the document be?

grids

What are grids?

design

What are crop marks?

paper size

Should I use CMYK or RGB?

grids

What is the best resolution?

design

What is the difference?

paper size

What file format is best for print?

grids

Sending artwork by email

design

How do I know my work is ready?

Guide to printing

Need a no obligation quote?

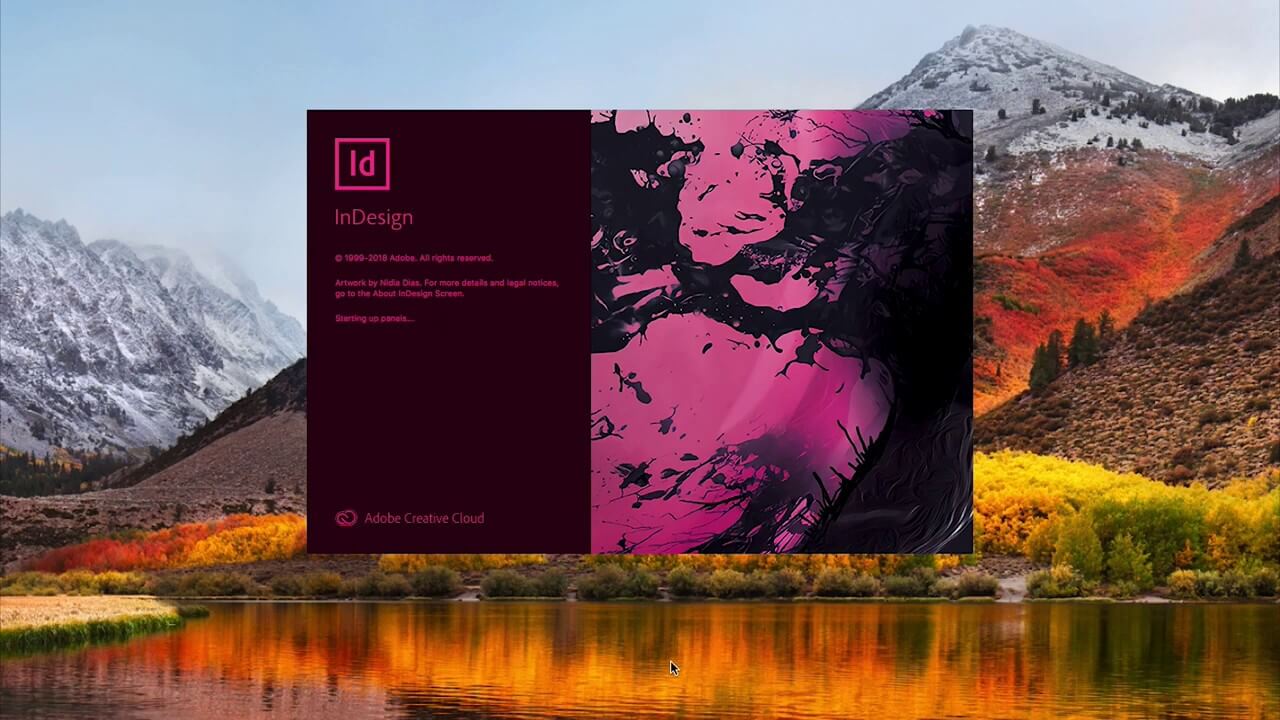
Adobe Photoshop, Adobe Illustrator and Adobe InDesign are the three main options when it comes to creating graphic designs for print. There are pros and cons to each application, but rather than create your entire design in a single app, you should make use of each programme’s individual speciality.

Photoshop is a great tool for working with raster-based images. Use it to edit photos and create awesome visual artwork for the background of your designs.

Illustrator is a great tool for creating crisp vector artwork (line art) such as logos, signage and graphic illustrations.

InDesign is a desktop publishing package with layout tools to create multi-page designs such as brochures, newsletters and leaflets.

When creating a design for print you can often construct a background in Photoshop (don’t forget: 300ppi, CMYK mode), save it as a full size JPEG and Place it into Illustrator. If the project requires multiple pages or long passages of text, then InDesign’s powerful paging features is ideal.

Other software is available, but always ensure that your documents are saved as a PDF or high resolution JPEG.

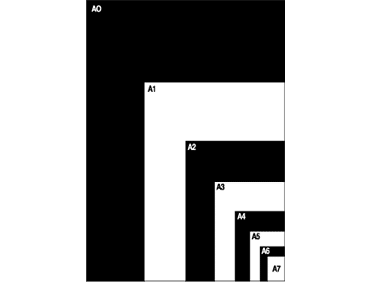
Printed products come in all shapes and sizes. Here at e-Print we work mainly in ‘A’ sizes.

Before starting any design work make sure you choose the correct paper size for the document to be printed. This will save time and you have to rework your layout if it is incorrect.

If you are still unsure please contact us for guidance and the correct sizing information.

E-print can create bespoke products in custom sizes, but a visit or phone call to make sure we can accommodate your needs is always advisable.

Table of Paper Sizes From a0 to a10
Size – Width x Height (mm)
a0 – 841 x 1189 mm
a1 – 594 x 841 mm
a2 – 420 x 594 mm
a3 – 297 x 420 mm
a4 – 210 x 297 mm
a5 – 148 x 210 mm
a6 – 105 x 148 mm
a7 – 74 x 105 mm

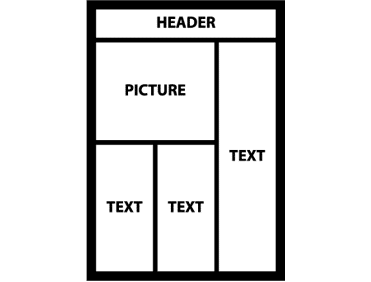
Grids help give your page balance and structure. They make it very easy to align elements within your design and make it much simpler to work out where to place things.

Parts of a Grid
A grid is made up of several parts:
Columns – These are the vertical divisions of space which break up your page
Gutters – The space between columns
Margins – This is the space between the edges of the page and your main content area.

Why use a grid?
Grids allow you to lay out a page much quicker. They really help you to keep your design organised and structured. They remove some of the decision making out of design, as you can easily see where an item should line up. They are especially useful when you are designing text-heavy documents like magazines, newsletters or reports, where you need consistency. If you are working on a project with other designers or to corporate guidelines, a grid ensures that your designs will all have the same common structure.

Crops or crop marks are a set of marks that define a printed area. They tell the printer the boundaries / size of the printed area. Crop marks indicate where the document will be cropped.

What is bleed?
Bleed is the term used for the extended area of your artwork that goes beyond its actual size. For example, if you work on a brochure that contains elements that touch the edges of your document, it will require bleeds. This will avoid the possibility of some of the vital objects in your document from being cut.

Generally, the measurement for bleeds is 3- 5 mm in European countries.

CMYK is the standard for print projects. Make sure you set your Photoshop document and Illustrator colour palette to CMYK (not RGB) mode before creating your artwork.

Printers use CMYK (Cyan, Magenta, Yellow and Black), whereas on screen we use RGB (Red, Green, Blue).

You need to ensure your document is set up in CMYK, otherwise your print could be different to what you expected.

When you convert your image from RGB to CMYK it may appear duller, so you may have to brighten up the colours to compensate.

Most images that are used for websites are usually in 72dpi (dots per inch) resolution, which is the standard screen resolution and is perfect for websites which need to be small in size so that they are loaded faster, yet still look crisp on screen.

However, if you were to print out your artwork in 72dpi, it would end up looking blurry or fuzzy. If you want your artwork to appear clean and sharp, 300dpi is an industry standard for press print quality.

Printing a 300dpi image will ensure your artwork will look as close to what you expect. The only down side to files using 300dpi images is that they can end up being quite large files.

Rasters
A raster is a digital version of a traditionally printed image. ie. it is made up of a grid of coloured dots that when viewed from a distance give the appearance of a seamless image. This is just the same as the print that appears in books and magazines. If you look closely enough or use a magnifying glass you can see that the image is made up of many tiny dots of ink.

In a digital file, the dots are in fact squares, and are known as pixels.

Vectors
When it comes to printing, especially large-format printing, vectors are your friend.

Try to design as much as possible in a vector-based (line art) programme such as Adobe Illustrator. Not only will it reduce your file size, but it will ensure that you get the crispest print result.

You can create a PDF file from most programmes now, and it’s the easiest file for printers to use.

When saving your PDF you can select to include crop marks and a bleed. You can also ensure the resolution at which you want to save the file. If you are designing a brochure, supply the PDF as separate pages, not spreads, including the front and back cover. e-Print’s machines will impose your brochure using their imposition software.

Convert fonts to outlines
It’s important that when you send a document to print you convert the fonts to outlines. This basically means that rather than the type being an editable font, you change it into lines only or a shape layer. This will stop any font issues occurring at the printer’s side.

In Adobe Illustrator it’s as simple as selecting all your type and then clicking Type > Create Outlines.

Please address it to [email protected] with any relevant information regarding the job.

The maximum file size preferred by e-mail is 20MB. Files larger than this should be sent on a USB stick or by using one of the many file sharing sites that are now readily available and allow you to send large files normally free of charge, i.e. Wetransfer, MailBigFile or Yousendit.

At the counter
Bring your work to us on a USB stick for us to copy to our systems. Fill in a print request form, putting details and any specific requirements for the job.

We will notify you when your print work is complete and ready for collection. This is either by e-mail or telephone, depending on how we received the job and what you specified on your print request form.

We usually say 3-5 working days, but depending on our workload it can be earlier. We will notify you accordingly.